
Prep Tips and Finish Options for Interior Painting Projects For Sonoma Homes
Interior painting projects go more smoothly when homeowners prepare their spaces ahead of time. Clearing rooms, protecting belongings, and planning around daily routines can make a noticeable difference in how efficiently the work unfolds. At the same time, choosing the right paint finish for each room plays a key role in how well the final result holds up.
Preparation is not just about moving furniture. It’s also about understanding which finishes belong in high-traffic areas, moisture-prone spaces, and quieter rooms. A matte wall in a bedroom serves a different purpose than a satin finish in a kitchen.
This guide covers practical prep tips homeowners can follow before interior painting begins and explains how to choose paint colors and finishes that suit each room in a Sonoma home. Taking time to plan both steps helps ensure a smoother process and longer-lasting results.
Choosing Interior Paint Colors That Work in Sonoma Homes
Before furniture gets moved or floors get covered, the most important decision is color. Paint selection shapes how the space feels long after the project is finished.
In Sonoma homes, natural light plays a big role. Some rooms get strong afternoon sun, while others stay softer and cooler throughout the day. That shift can dramatically change how a color looks once it’s on the wall.
When choosing colors, consider:
- How much natural light the room receives
- Whether the space feels warm or cool throughout the day
- Existing flooring, cabinetry, and trim tones
- Whether you want contrast or a seamless flow between rooms
Testing samples on multiple walls is essential. Look at them in the morning, afternoon, and evening. A color that feels perfect at noon might look completely different under artificial light at night.
It also helps to think about the purpose of the room. Bedrooms often benefit from softer, calming tones. Living areas can support warmer neutrals. Kitchens may need colors that pair well with cabinetry and countertops.
Choosing thoughtfully now prevents second-guessing later.
Choosing the Right Paint Finish for Each Room
After selecting your color, the next decision is finish. Paint sheen affects how durable the surface will be, how easy it is to clean, and how much light it reflects. The right finish helps each room function better while maintaining a consistent look throughout the home.
- Flat / Matte: Offers little to no shine and helps hide minor wall imperfections. Best suited for ceilings and low-traffic bedrooms where durability and washability are less of a concern.
- Eggshell: Provides a soft, subtle sheen with slightly more durability than flat paint. Works well in living rooms and dining areas where you want a smooth look with light cleanability.
- Satin: Has a noticeable sheen and stands up better to moisture and frequent wiping. Ideal for kitchens, bathrooms, laundry rooms, and hallways where walls see more activity.
- Semi-Gloss: More reflective and highly durable. Commonly used on trim, doors, cabinets, and window frames because it handles cleaning and wear well.
Selecting the right finish ensures your interior painting project not only looks polished but also holds up to everyday use.
Prep Tips Before Interior Painting Begins
Preparing your home ahead of time helps the painting process move efficiently and reduces the risk of accidental damage. A little organization upfront makes it easier for painters to focus on delivering clean, even results.
1. Clear Furniture and Wall Items
Giving painters full access to walls is one of the most important first steps.
- Remove artwork, mirrors, shelves, and wall décor
- Take down curtain rods or window treatments if they interfere
- Move small furniture and decorative items to another room
- Push large pieces toward the center if they cannot be removed
Clearing surfaces ahead of time prevents delays and makes it easier to identify nail holes, dents, or imperfections before work begins.
2. Protect Floors and Belongings
Even careful painting can create minor dust or splatter. Taking precautions helps protect surfaces and valuables.
- Roll up area rugs and store them away from the workspace
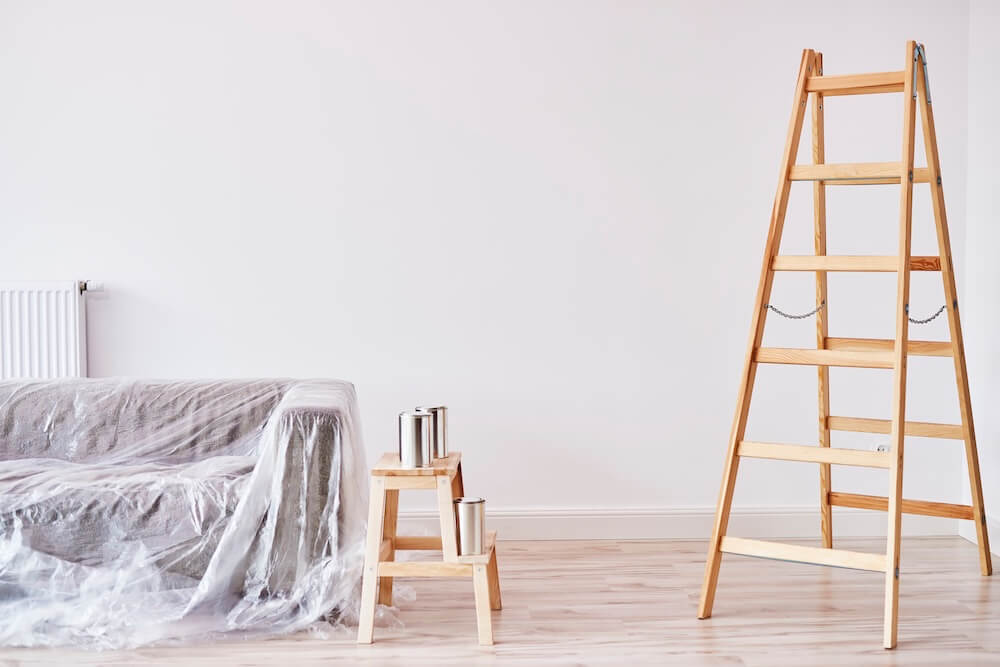
- Cover large furniture with protective sheets if it stays in the room
- Move fragile or high-value items to a separate, closed-off space
While painting crews bring protective materials, pre-clearing delicate belongings helps speed up setup and reduces the chance of accidental damage.
3. Plan for Daily Routines, Kids, and Pets
Interior painting temporarily changes how rooms function. Planning ahead helps avoid disruptions.
- Identify safe spaces where children can play during work hours
- Keep pets in secure areas away from fresh paint
- Share schedule considerations if certain rooms are needed at specific times
Thinking through these logistics helps ensure the project progresses smoothly without interfering too heavily with daily life.
4. Share Access and Scheduling Details
Clear communication before work begins prevents slowdowns on day one.
- Provide access instructions, alarm details, or parking guidance if needed
- Confirm arrival times and any overlapping appointments
- Point out areas that may need extra attention due to past wear or scuffs
These small details help everything start on time and stay on track.
Bringing Prep and Finish Choices Together
Interior painting projects turn out better when both preparation and finish selection are handled thoughtfully. The right paint sheen helps each room perform the way it should, whether that means durability in a kitchen or softness in a bedroom. At the same time, clearing and protecting your space ahead of time allows the work to move efficiently and keeps your home organized throughout the process.
Small details make a noticeable difference. Choosing finishes that match room function helps paint last longer. Taking time to prepare furniture, belongings, and access points helps avoid unnecessary delays.
If you’re planning interior painting for your Sonoma home, we’re ready to help. At Lavish & Sons Painting Inc., we guide homeowners through finish selection and make sure every project starts with a clear plan. Contact us today to schedule your consultation and get your interior update underway.

Leave a Reply